How to disassemble and reassemble a gear box (v3)
Disassembling and reassembling a gear box is the first and last step of all internal work. However both tasks can be disastrous if done incorrectly. This guide should show you how to take apart and reassemble your gear box without damaging your gun or injuring yourself. Please note that steps and parts may very from version to version but the basic concepts should remain the same. We have left out some material such as lubrication to keep it fairly short. This guide is simply for disassembly and reassembly.
You will need:
- Screw driver (head depends on the gear box)
- Small flat head screw driver (for various tasks)
We strongly advise eye protection for this job!
You will need:
- Screw driver (head depends on the gear box)
- Small flat head screw driver (for various tasks)
We strongly advise eye protection for this job!
Disassembly
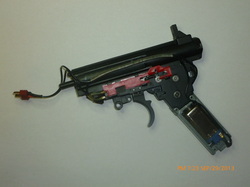
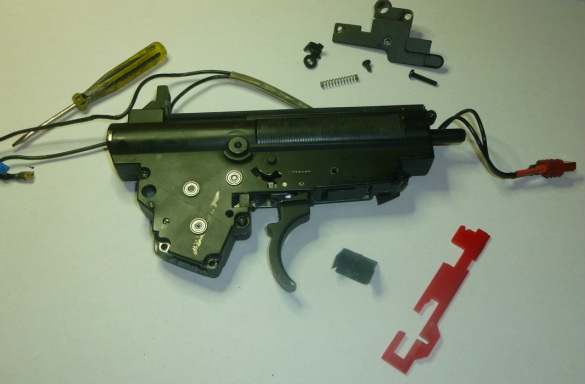
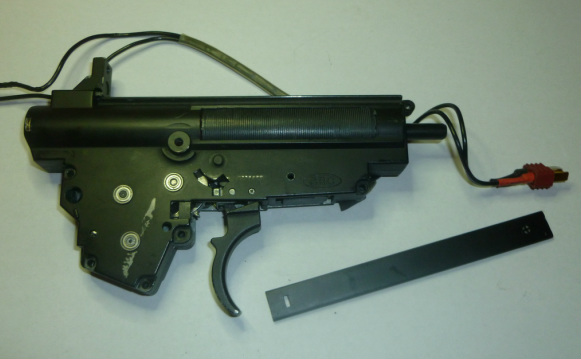
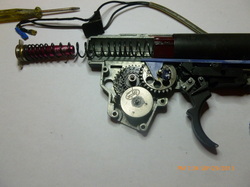
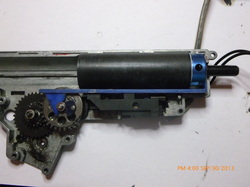
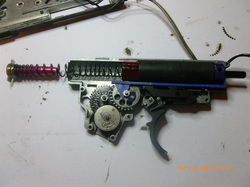
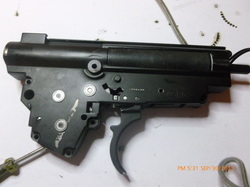
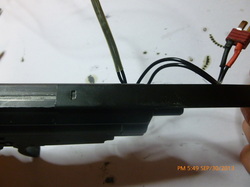
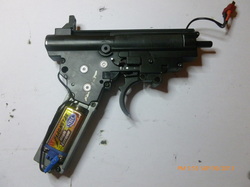
Step 1: Remove the gear box from your gun so it look something like this. Not all versions will have the motor and motor mount attached as they will be removed in this first step.
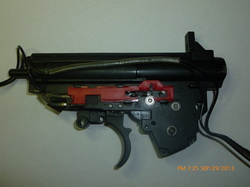
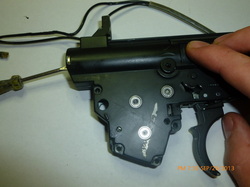
Step 2: Remove the motor and motor mount. There is no need to remove the motor from the mount.
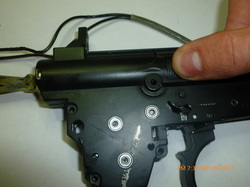
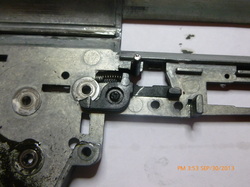
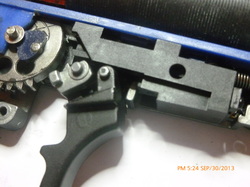
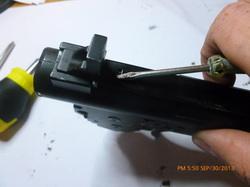
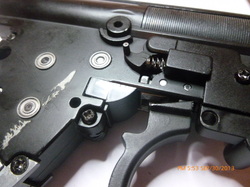
Step 3: Remove the safety mechanism. They will vary from gun to gun. For example, a G36 type mechanism will only be on one side, but an AK type mechanism will have parts on both sides. You may need to remove the selector plate at the same time.
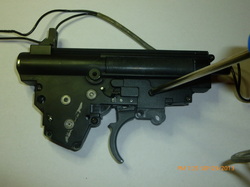
Step 4: Remove the small plastic cover under the trigger, and gently remove the selector plate.
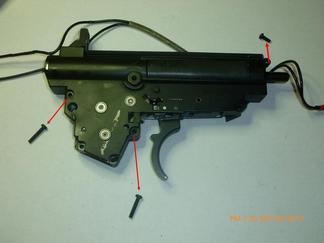
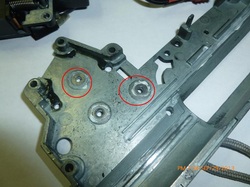
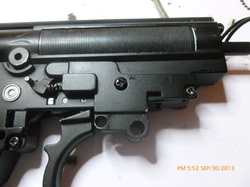
Step 5: Remove the remaining 3 screws.
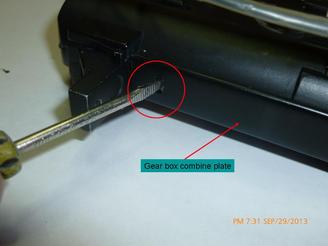
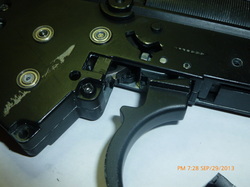
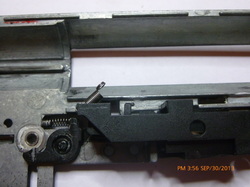
Step 6: Use a flat head screw driver to push the gear box combine plate forward about 1-2cm's.
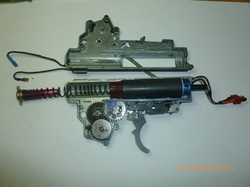
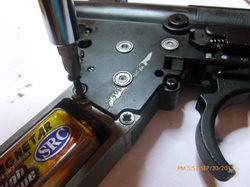
Step 7: Remove the gear box combine plate by pulling it forward and sliding it off the shell.
WARNING: Eye protection is strongly recommended from this point on!
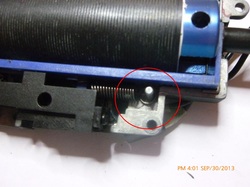
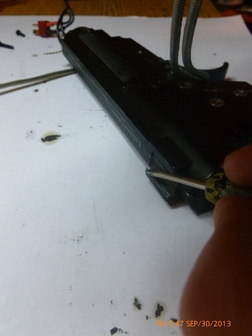
Step 8: Place the shell on its left side as seen in the picture. Use a flat head screw driver to slowly separate the shell at the back. At the same time hold down the cylinder as it will likely pop up. Be very careful!
Step 9: Once the shell sides are far enough apart, put the screw driver through the hole on the spring guide. Keep pressure on the cylinder! Act carefully and slowly.
Step 10: Place your thumb on the cylinder and maintain constant pressure. Use you forefingers to slowly lift the right side away from the left side. Keep the screw driver in place and push it down so the spring guide stays in place. Be careful as the spring could fly out suddenly especially if you have never done this before. Consider using a cardboard shield around your work area to prevent parts from flying across the room and being lost.
Step 11: Once the right side of the shell has been pulled about 2-3cm from the left side, use the screw driver to pull the spring guide up and slowly decompress the spring. Continue to apply pressure on the cylinder until the spring is decompressed. If you can do this for the first time without a "spring explosion", congratulations!
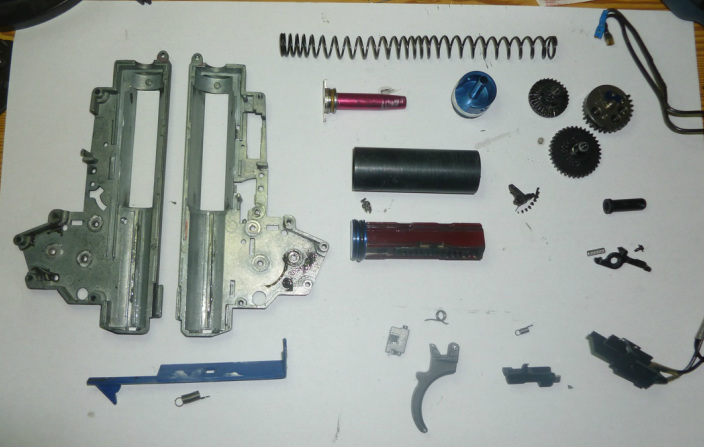
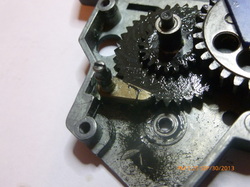
Step 12: Be sure to keep track of the gear shims, and the gears they belong on. Unless you want to have to re-shim the gun completely.
Step 13: Now that the first tricky part is over you can begin carefully removing the internal parts, and doing whatever work you need or want to do.
Reassembly
All parts are installed on the left side of the gear box.
Step 1: Install the auto cut-off lever and all the parts that go with it (one spring and one screw)

Step 2: Install the trigger housing.
Step 3: Install the trigger wedge and trigger wedge spring.

Step 4: Connect the trigger wedge spring to the trigger wedge.
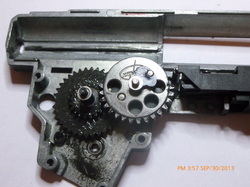
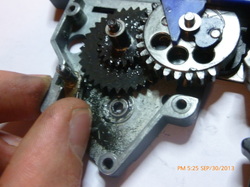
Step 5: Install the spur gear, and the sector gear. Be sure to place the proper shims on at the same time.
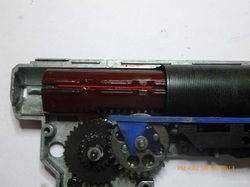
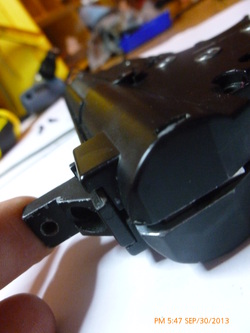
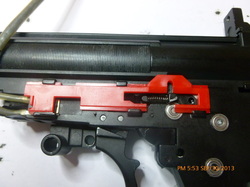
Step 6: Place the cylinder head in the cylinder, the air nozzle in the tappet plate, and the tappet plate spring on the tappet plate. Then place the air nozzle on the cylinder head. See picture for details.
Step 7: Fit the assembly from the previous step into the gear box. Insure it is properly in place.
Step 8: Place the tappet plate spring on the tappet plate spring post.
Step 9: Insure the piston head is properly attached to the piston. Then insert the piston head and piston into the cylinder and push it all the way through until the piston head hits the cylinder head.
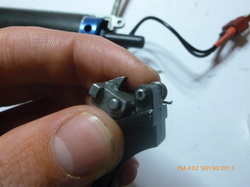
Step 10: Prepare the last part of the trigger assembly as shown. Insure the trigger spring is properly in place.
Step 11: Install the trigger. This is one of the more difficult things to do. As the spring can be difficult to get in its proper place. It should come with practice. Try not to pop the rest of the trigger assembly out of place while doing this.
Step 12: Install the anti reverse latch.
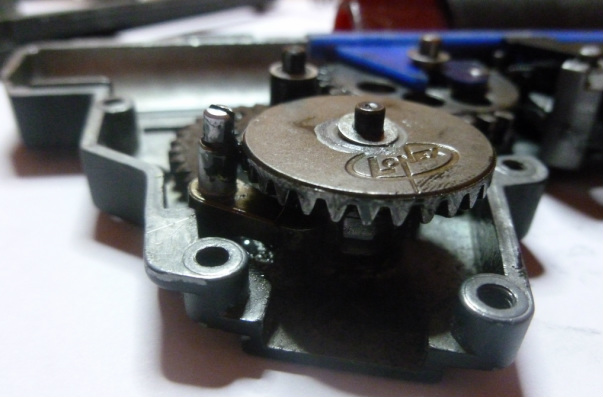
Step 13: Hold the anti reverse latch with your finger and install the Bevel gear.
Warning: Eye protection is strongly advised for the following steps.
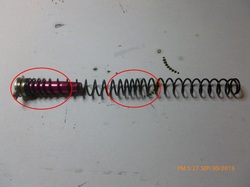
Step 14: Insert the spring guide into the spring. If the spring is non liner make sure you put the end with the more compressed coils on the spring guide. Like the one in the picture.
Step 15: Place the spring into the piston and feed it in until it hits the front of the piston.
Step 16: Insert a screw driver through the back of the spring guide, and hold the cylinder down. Then push the spring into the piston and set the spring guide in its place. Be sure to keep constant pressure on the cylinder or the entire assembly will pop out!
Step 17: While continuing to hold the cylinder in place, install the right side of the gear box shell. You will likely need to push the spring guide in, so it will fit.
Step 18: Use a screw driver to adjust the positions of the gears and other parts so they fit into their respective holes.
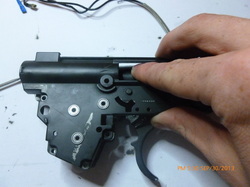
Step 19: Use a screw driver to separate the gear box at the back slightly.
Step 20: Place the mount into the brackets and push the gear box back together.
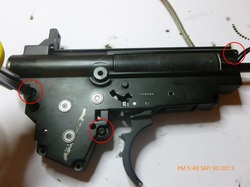
Step 21: Install the three screws shown.
Step 22: Push the gear box combine plate on as far as you can.
Step 23: Use a flat head screw driver to push the combine plate on the rest of the way.
Step 24: Install the safety mechanism. As this varies from gun type to gun type, I am unable to show you how this is done as it may be a different mechanism.
Step 25: Install the motor. (not necessary for V2's)
Step 26: install the plastic guard under the trigger.
Step 27: Install the selector plate if you haven't already.
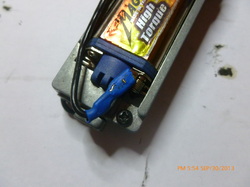
Step 28: Connect the motor connectors.
Your gear box is now fully reassembled. You may want to attach the battery and test it before reassembling your gun.
